

Create a new session.

Resets the layout to original

Access the latest Sessions.

Meta Data Properties for the current session.

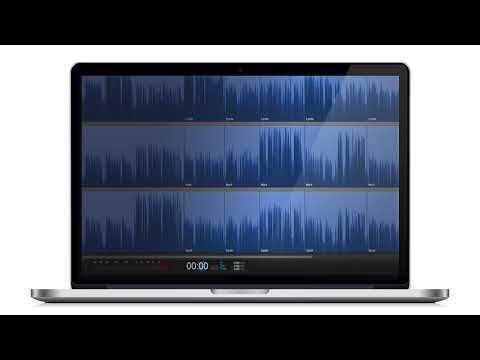
Organize the tracks. Add, delete and rename the tracks

Organize the groups in the Clipboard. Add, delete and rename the groups
Organize the groups in the Clipboard. Add, delete and rename the groups
Watch video [00:32]
Save default session. Revert to factory settings.

Recover any unintentional edits made in your session.

Export your session as a mixed down file. You can export in a number of different file formats.
Export your session as a mixed down file. You can export in a number of different file formats.
Watch video [00:34]
Import audio into the workspace.

Export Hindenburg sessions to WaveLab. Hindenburg supports the export format AES - 31
Export Hindenburg sessions to WaveLab. Hindenburg supports the export format AES - 31
Watch video [00:34]
Save the session to a new location or with a new name
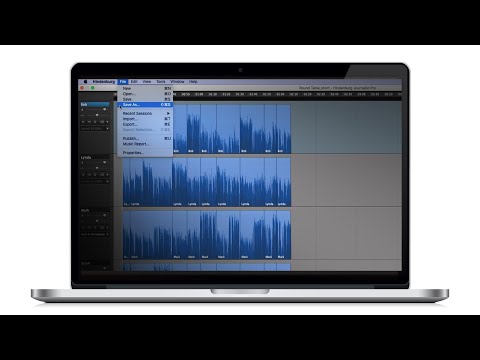
Save the session.

Open a session.

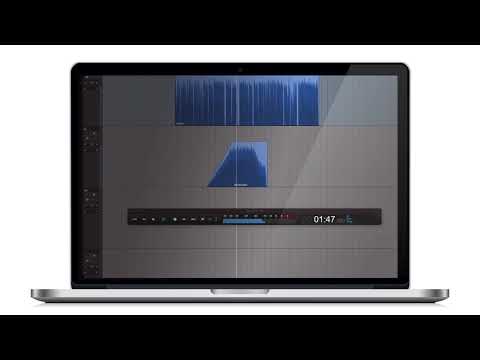
“Split” or “Break” is used to separate a region. This can be used to quickly select areas that later can be removed or moved.
“Split” or “Break” is used to separate a region. This can be used to quickly select areas that later can be removed or moved.
Watch video [00:31]
Export the current selection as file.

Undo the last action

"Cut selection" is used when editing out a selection of audio. This could be a single word, a breath or a sentence.
"Cut selection" is used when editing out a selection of audio. This could be a single word, a breath or a sentence.
Watch video [00:19]
“Copy” will add the selection to the program memory and can be pasted or inserted later. This can be used to copy a breath or ambience.
“Copy” will add the selection to the program memory and can be pasted or inserted later. This can be used to copy a breath or ambience.
Watch video [00:30]
"Paste” is used when placing audio in on top of existing audio This can be used to replace sections of the current audio.
"Paste” is used when placing audio in on top of existing audio This can be used to replace sections of the current audio.
Watch video [00:24]
"Paste in selection" is used when placing audio in a selection. This can be used for adding ambience or music to a specific area.
"Paste in selection" is used when placing audio in a selection. This can be used for adding ambience or music to a specific area.
Watch video [00:27]
"Replace" is used to replace audio. This can be used to replace a short breath with a longer breath.
"Replace" is used to replace audio. This can be used to replace a short breath with a longer breath.
Watch video [00:29]
"Insert" is used when inserting audio in front of existing audio. This can be used to move words and sentences in front of the current audio.
"Insert" is used when inserting audio in front of existing audio. This can be used to move words and sentences in front of the current audio.
Watch video [00:20]
To move overlapping audio for Phone Interviews ... when tracks are linked the insert will be after in on one track and after out on the other.
To move overlapping audio for Phone Interviews ... when tracks are linked the insert will be after in on one track and after out on the other.
Watch video [00:32]
"Delete/clear" - is used when editing out audio. In this case an entire region. Use this for removing entire blocks of audio.
"Delete/clear" - is used when editing out audio. In this case an entire region. Use this for removing entire blocks of audio.
Watch video [00:27]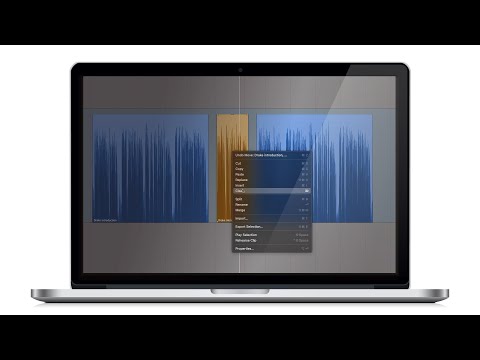
"Duplicate" is used to duplicate a region or selection. This can be used for for making music loops or duplicating ambience.
"Duplicate" is used to duplicate a region or selection. This can be used for for making music loops or duplicating ambience.
Watch video [00:32]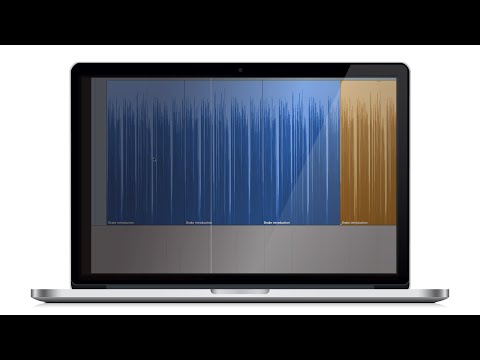
Creates a fade on the selection or, if no selection, at the playhead
Creates a fade on the selection or, if no selection, at the playhead
Watch video [00:31]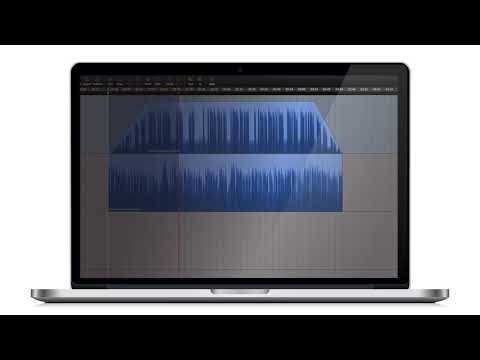
Mute Region / Selection

Rename Region

Creates a Smart Region with sub regions

Trims the beginning of the region to the playhead

"Trims the beginning of the region to the playhead, ,without moving the following regions "
"Trims the beginning of the region to the playhead, ,without moving the following regions "
Watch video [00:12]
Trims end beginning of the region after the playhead

"Trims end beginning of the region after the playhead, without moving the following regions "
"Trims end beginning of the region after the playhead, without moving the following regions "
Watch video [00:13]
The Cut edit will only affect the region - not the entire track
The Cut edit will only affect the region - not the entire track
Watch video [02:06]
Lower the volume of music or Ambience under the Narration

Copy a "Duck" from a Selection and paste the "Duck" on to a new Selection
Copy a "Duck" from a Selection and paste the "Duck" on to a new Selection
Watch video [00:24]
“Insert Silence” is used to insert blank room in the edit.
“Insert Silence” is used to insert blank room in the edit.
Watch video [00:17]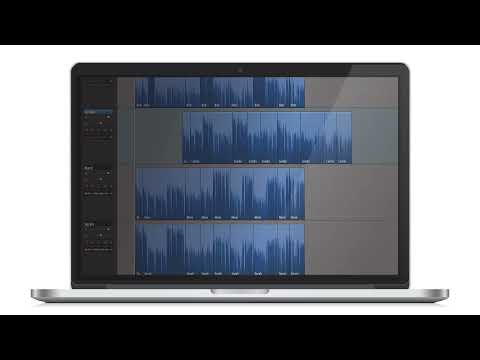
Open the Markers View
Open the Favorites View

Open the Chapters View

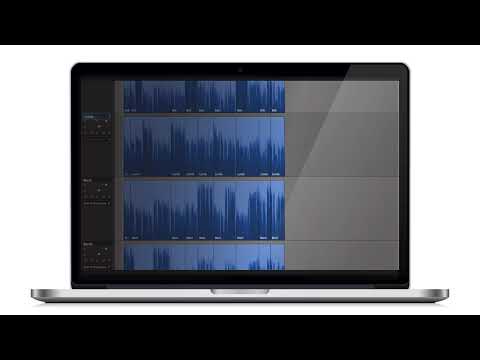
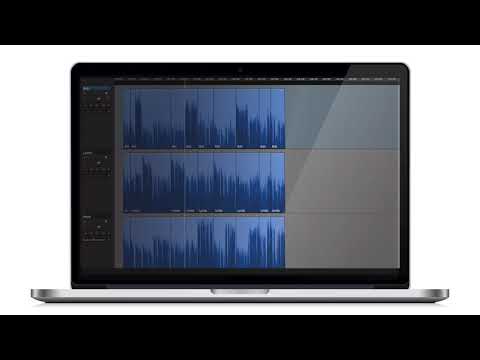
Zoom in to see more details and zoom out to get a better overview.
Zoom in to see more details and zoom out to get a better overview.
Watch video [00:27]
Zoom in to see more details and zoom out to get a better overview.
Zoom in to see more details and zoom out to get a better overview.
Watch video [00:27]
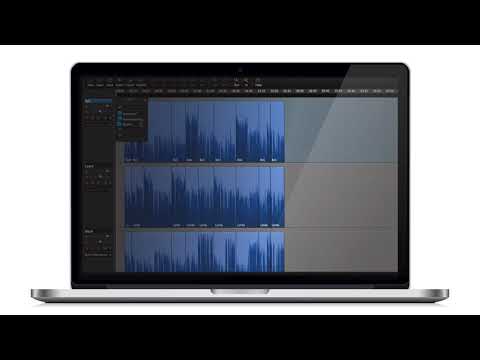
“Zoom Track Height” is used to make the tracks larger or smaller.
“Zoom Track Height” is used to make the tracks larger or smaller.
Watch video [00:22]
Shows / Hides the System Monitor. Monitor the CPU & Disk Usage.
Shows / Hides the System Monitor. Monitor the CPU & Disk Usage.
Watch video [00:25]
Shows / Hides the Clock with current time

Shows / Hides the Transport menu

Show or Hide the Waveform Display
Only show the Peak Value in the waveforms
View a Grid on the Timeline

View a Fine Grid on the workspace

Workspace will follow playhead
Full Screen View

Search in the menu's

Input track name
Adjust the volume on the track
Adjust the pan on the track

Prepare the track for recording

Mute the entire track

Solo this track

Add effect to the bin

Drag to Reorder the FX in the slots
Apply a Generic Voice Profile to the Track
Apply a Generic Voice Profile to the Track
Watch video [00:38]
Apply a Personal Profile to the Track

Create a Profile from the current Tracks audio
Create a Profile from the current Tracks audio
Watch video [00:17]
Add a new track

Add a Master Track

Delete Track
Shows Playhead and Selection Time
Shows the volume with the current Meter Setting

Traditional Meter as used in Public Radio
Meter used by BBC

Has no built in delay

Shows the level as VU

Shows the level as EBU R128

Goes to the beginning of the Session

Rewinds the playhead
Spacebar toggles Play & Stop
Spacebar toggles Play & Stop

Begin recording on a track

Forwards the playhead

Goes to the End

Solo's the track and plays the selction
"Solo's" the track and Loops the selection.

Listen to the end result of an edit before you do the actual editing
Listen to the end result of an edit before you do the actual editing
Watch video [00:27]
Preroll will set the playhead back a few seconds and playback the audio from that point
Preroll will set the playhead back a few seconds and playback the audio from that point
Watch video [00:31]
Prepare a track for recording. This identifies the track that you wish to record on.
Prepare a track for recording. This identifies the track that you wish to record on.
Watch video [00:19]
Manually punch in to record

During a recording you can Copy a Selection to the clipboard
During a recording you can Copy a Selection to the clipboard
Watch video [00:24]
Link tracks together

Begin recording on a track

Record monitor is used for activating/deactivating the monitor input
Record monitor is used for activating/deactivating the monitor input
Watch video [00:18]
Scrub trough the audio and different speeds

Scrub through the audio and different speeds

Scrub through the audio and different speeds

Navigate between the tracks with the up & down arrow keys
Navigate between the tracks with the up & down arrow keys
Watch video [00:23]
Use the arrow keys left & right to run trough the audio
Use the arrow keys left & right to run trough the audio
Watch video [00:19]
Jump to the next event. This could be the next splice or marker
Jump to the next event. This could be the next splice or marker
Watch video [00:27]
Jump to the next region event. This shortcut will also highlight the region under the playhead
Jump to the next region event. This shortcut will also highlight the region under the playhead
Watch video [00:18]
Select all the regions from the current region to the first region
Select all the regions from the current region to the first region
Watch video [00:16]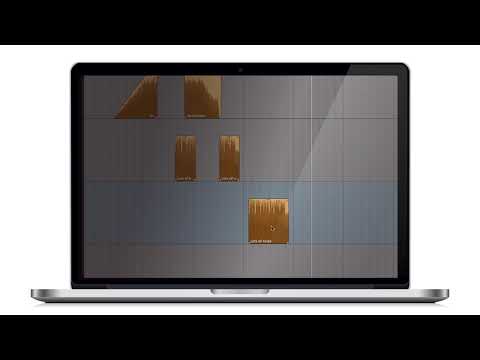
Select all the regions from the current region to the last region
Select all the regions from the current region to the last region
Watch video [00:16]
Select all the regions from the current region to the first region
Select all the regions from the current region to the first region
Watch video [00:22]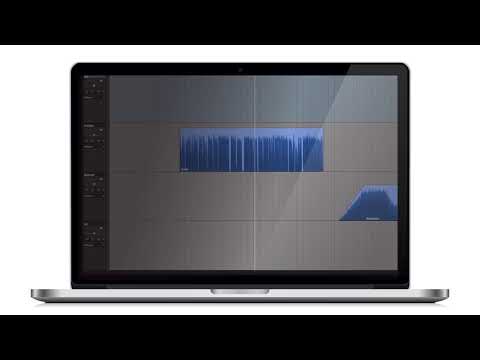
Select all the regions from the current region to the last region
Select all the regions from the current region to the last region
Watch video [00:19]
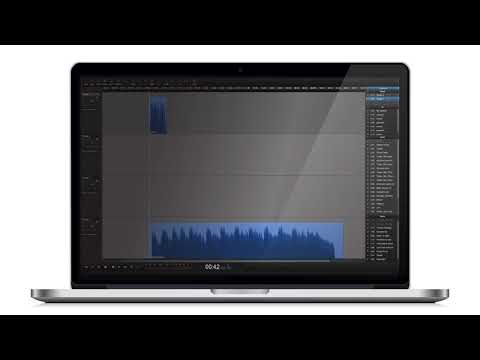
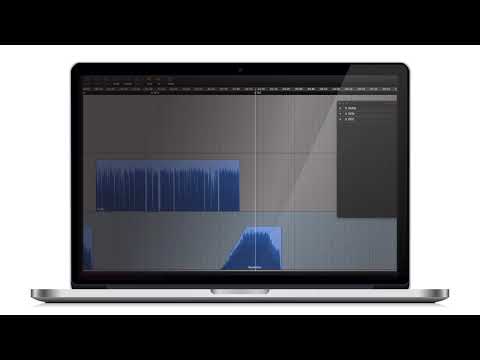
To edit audio you need to select an area for editing. This can be used cutting out words, copying audio or any other edit you can think of.
To edit audio you need to select an area for editing. This can be used cutting out words, copying audio or any other edit you can think of.
Watch video [00:24]
Drag a selection in the workspace. Use for editing the audio
Drag a selection in the workspace. Use for editing the audio
Watch video [00:21]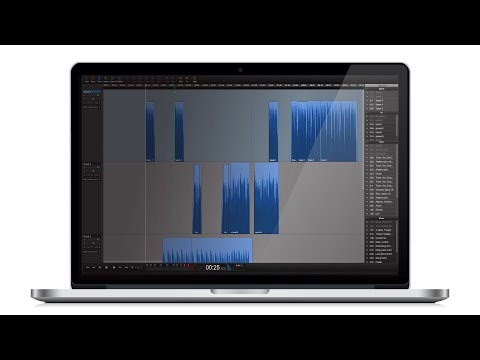
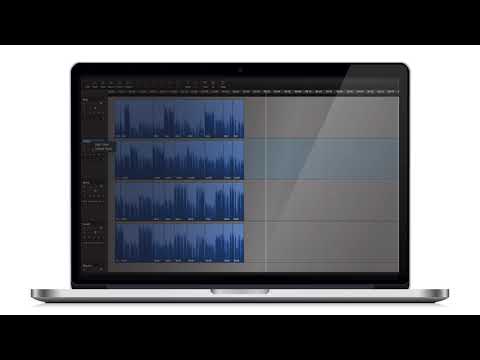
Highlight the region or regions

Select area between regions

Use the Marquee tool to select regions in Hindenburg.
Use the Marquee tool to select regions in Hindenburg.
Watch video [00:18]
Drag gain handle

Drag fade handle

Drag Trim Handle

Move the edit point without breaking the edit apart
Move the edit point without breaking the edit apart
Watch video [00:26]
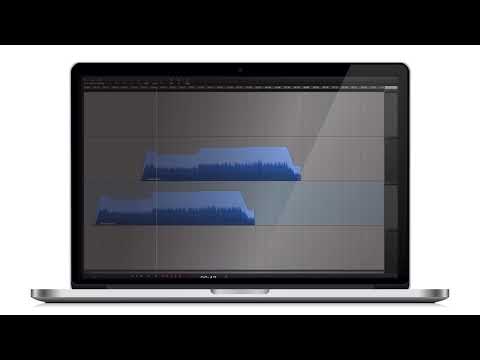
Sliding the audio inside the region

With Time Stretch it’s possible to make the audio slightly shorter or longer
With Time Stretch it’s possible to make the audio slightly shorter or longer
Watch video [03:59]
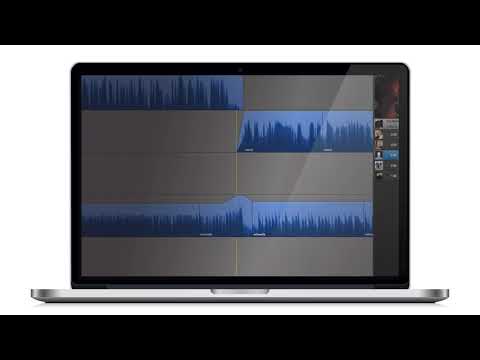
Select a region to edit the entire region. Add fades or any edit function, like Cut, Copy & Paste.
Select a region to edit the entire region. Add fades or any edit function, like Cut, Copy & Paste.
Watch video [00:18]
Select multiple regions for editing. Cut, Copy & Paste or move the regions around
Select multiple regions for editing. Cut, Copy & Paste or move the regions around
Watch video [00:21]
“Expand region selection” is used for adding additional regions to a selection. Use this for adding an edit to all regions
“Expand region selection” is used for adding additional regions to a selection. Use this for adding an edit to all regions
Watch video [00:23]
Select all the regions on one track

Select all the regions from the current region to the last region
Select all the regions from the current region to the last region
Watch video [00:17]
Select all the regions on all tracks from the current region to the last region
Select all the regions on all tracks from the current region to the last region
Watch video [00:17]
Select all the regions from the current region to the first region
Select all the regions from the current region to the first region
Watch video [00:13]
Select all the regions on all tracks from the current region to the first region
Select all the regions on all tracks from the current region to the first region
Watch video [00:25]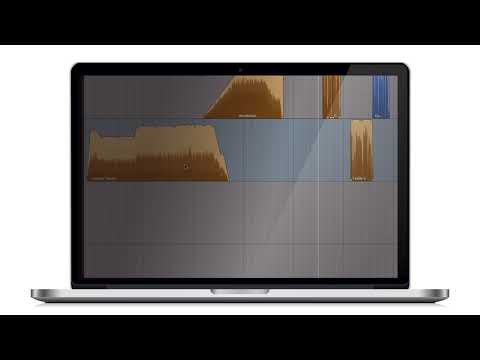
Clear any selection by pressing the ESC key or double-clicking in a empty area in the workspace
Clear any selection by pressing the ESC key or double-clicking in a empty area in the workspace
Watch video [00:25]
The Region snaps to the nearest event

Moves the region in milisecond increments

Moves the region between tracks

Group regions together to move the around as a group

Ungroup regions to edit individual region

Merge regions into a Smart Region
UnMerge regions into a Smart Region
The regions contain meta data for the audio

“Duck” is typically used for “ducking” music under narration. This can also be used for ambient beds or voice over
“Duck” is typically used for “ducking” music under narration. This can also be used for ambient beds or voice over
Watch video [00:28]
“Duck” is typically used for “ducking” music under narration. This can also be used for ambient beds or voice over
“Duck” is typically used for “ducking” music under narration. This can also be used for ambient beds or voice over
Watch video [00:27]
“Audio bedding” is typically used for “bedding” ambience under a narration or interview
“Audio bedding” is typically used for “bedding” ambience under a narration or interview
Watch video [01:59]
“Fade slope” is used to make a more gradual fade.

“Fade over multiple regions” is used to create a single fade over small regions. This could be ambience or edited music.
“Fade over multiple regions” is used to create a single fade over small regions. This could be ambience or edited music.
Watch video [00:27]
“Cross Fade” is used for making a transition from one sound to another on the same track.
“Cross Fade” is used for making a transition from one sound to another on the same track.
Watch video [00:26]
“Cross Fade point” is the cross section of the fade. It can be moved to fit the fade point better.
“Cross Fade point” is the cross section of the fade. It can be moved to fit the fade point better.
Watch video [00:24]
“Multi track Fade” is used for adding the same fade for more than one track.
“Multi track Fade” is used for adding the same fade for more than one track.
Watch video [00:26]
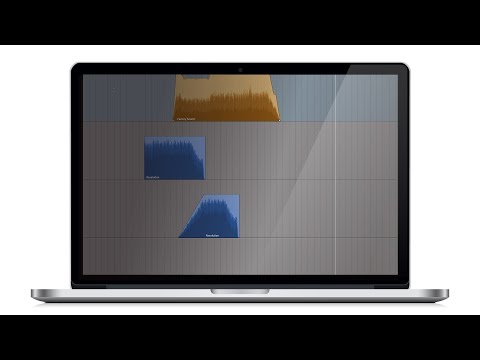
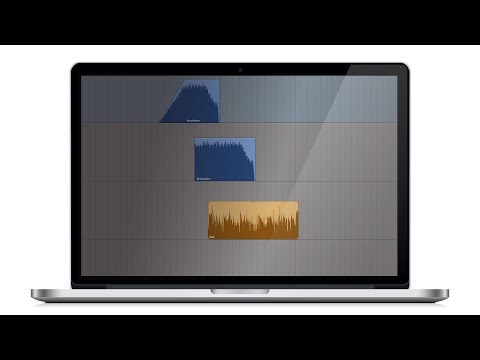
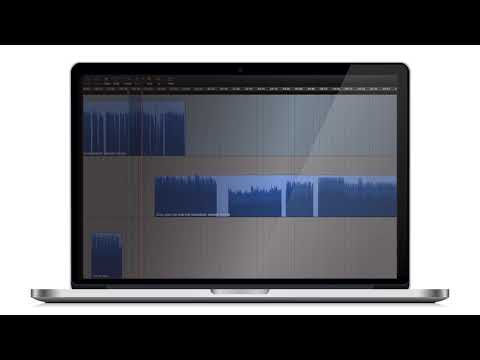
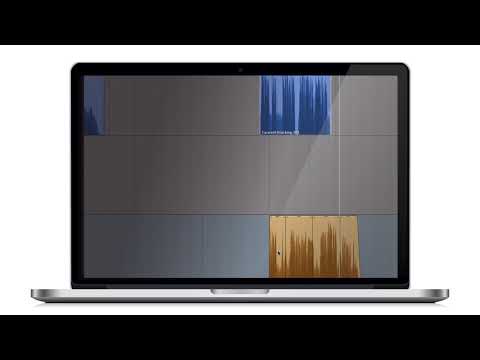
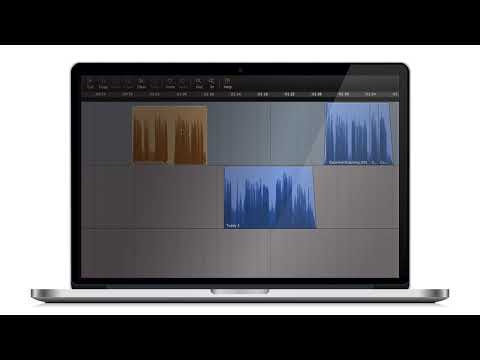
The clipboard is used for organizing the audio material

Drag soundbites from the workspace to the clipboard

Drag a region or multiple regions from the workspace to the clipboard
Drag a region or multiple regions from the workspace to the clipboard
Watch video [00:21]
Move a region or multiple regions from the workspace to a clipboard group
Move a region or multiple regions from the workspace to a clipboard group
Watch video [00:33]
Rename the region

Delete a clip in the clipboard

Paste a clip from the clipboard to the workspace

Insert a clip from the clipboard to the workspace

View the clip properties

Delete all the used clips in the group.

Delete all clips in the clipboard

Export the current entry in the clipboard
Add, remove, rename and rearrange groups

Markers are used for quick navigation in the session
Markers are used for quick navigation in the session
Watch video [00:36]
Set the Markers 3 - 0 with the shortcut. Use the 3 - 0 keys to later navigate to the markers.
Set the Markers 3 - 0 with the shortcut. Use the 3 - 0 keys to later navigate to the markers.
Watch video [00:20]
Double-click any marker in the markers list and the playhead will navigate to that point
Double-click any marker in the markers list and the playhead will navigate to that point
Watch video [00:22]
Rename the markers
Renumber the markers

Delete a Marker

Mark points of interest in the Audio. The Cue Point will be locked tot he audio and not the timeline. The Cue Points will follow your edits.
Mark points of interest in the Audio. The Cue Point will be locked tot he audio and not the timeline. The Cue Points will follow your edits.
Watch video [00:31]
AUD, INT, SEG, TER
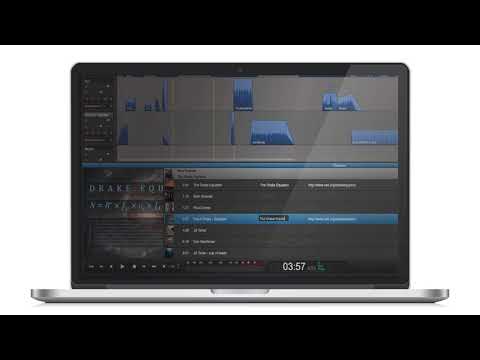
Chapters are a way for the user to navigate your show. Chapter markers that can have an image and link associated.
Chapters are a way for the user to navigate your show. Chapter markers that can have an image and link associated.
Watch video [00:34]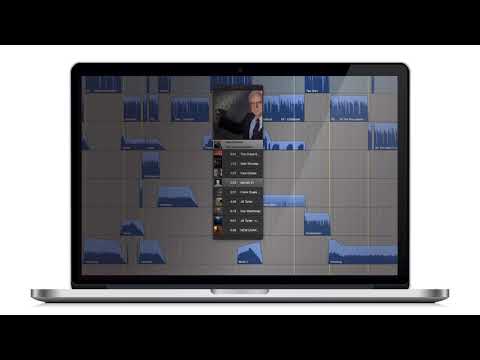
Place the playhead at the desired position and use the shortcut to set a chapter-marker
Place the playhead at the desired position and use the shortcut to set a chapter-marker
Watch video [00:20]
Import or drag image to the Chapter
Remove the image from the Chapter

Repossition or crop the Image

Rotate the image left

Rotate the image right
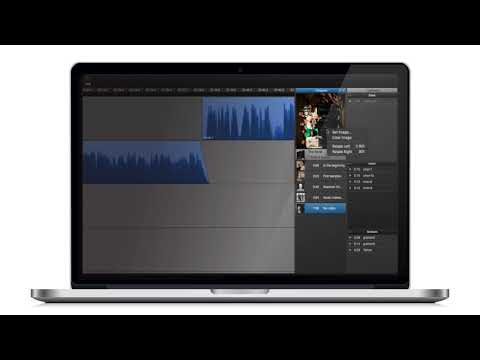
Add URL

Add Title for URL
Export the selected chapters as individual files

Select all chapter and choose "export selection"
Select all chapter and choose "export selection"
Watch video [00:36]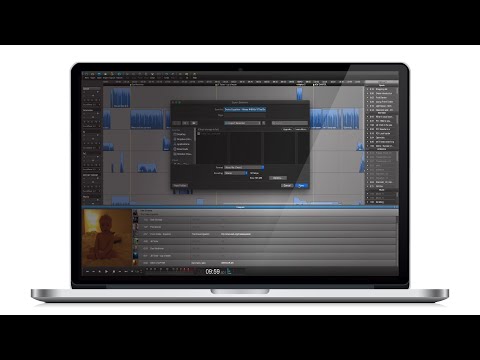
See MetaData

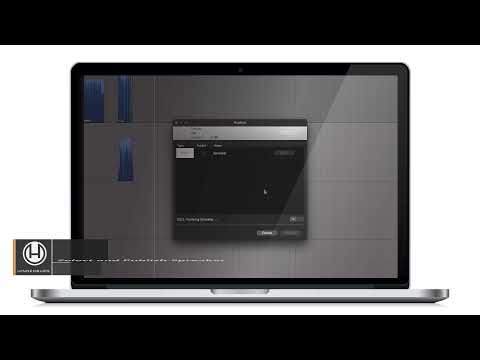
Select Publish Target

Set up you own Podcast for self Hosting
Set up you own Podcast for self Hosting
Watch video [00:31]
Set up you own Podcast for self Hosting with Chapters
Set up you own Podcast for self Hosting with Chapters
Watch video [00:31]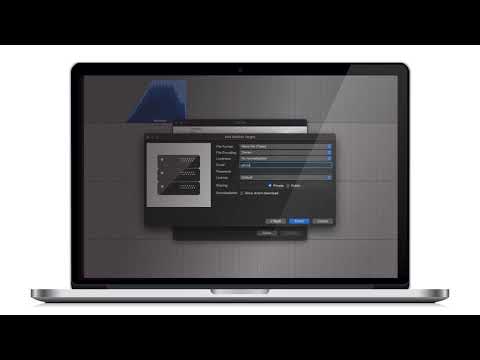
Set up PRX as Host

Set up Libsyn as Host

Set up Podigee as Host

Set up Podbean as Host

Set up Buzzsprout as Host

Set up Spreaker as Host

Export your session to the WAV (.wav) audio format.

Export your Hindenburg session to the MP2 (.wav) audio format.
Export your Hindenburg session to the MP2 (.wav) audio format.
Watch video [00:25]
Export your session to the .mp2 audio format.

Export your session to the ACC (.m4a) audio format.
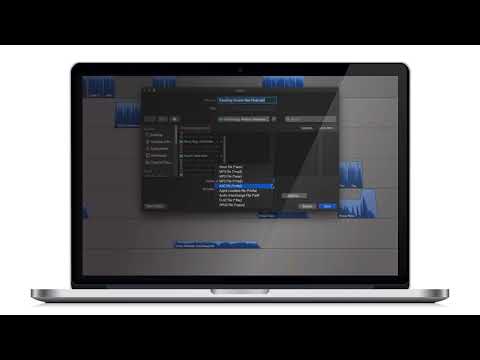
Export your session to the Apple Lossless (.m4a) audio format.
Export your session to the Apple Lossless (.m4a) audio format.
Watch video [00:23]
Export your session to the Audio Interchange (.aif) audio format.
Export your session to the Audio Interchange (.aif) audio format.
Watch video [00:23]
Export your session to the FLAC (.flac) audio format.
Export your session to the FLAC (.flac) audio format.
Watch video [00:23]
Export your session to the OPUS (.opus) audio format.
Export your session to the OPUS (.opus) audio format.
Watch video [00:23]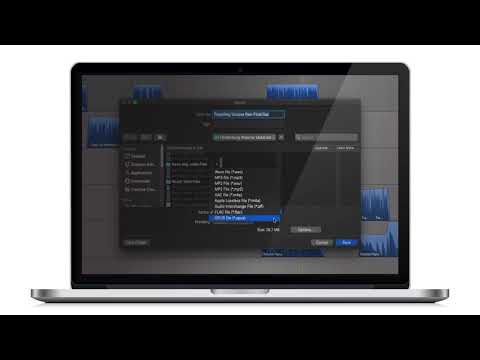
Set up an FTP to publish to.

Set up Soundcloud as Host

Set up IONO.FM as Host

Set up Captivate as Host

Publish to "Podigee"

Publish to "Podbean"

Publish to "Libsyn"

Publish to "Bluburry"

Audio export options: File Format, File Encoding, Loudness Normalization, Username , and Password
Audio export options: File Format, File Encoding, Loudness Normalization, Username , and Password
Watch video [00:38]
Import an entire session into current session
Import an entire session into current session
Watch video [00:21]
Import audio, e.g music or interviews, directly to the clipboard
Import audio, e.g music or interviews, directly to the clipboard
Watch video [00:20]
Point to audio for Region -Missing Audio red outline

Set up a folder on your own computer to export to. This could be for you archived copy of a podcast
Set up a folder on your own computer to export to. This could be for you archived copy of a podcast
Watch video [00:32]
Publish to "PRX"

Publish to "Buzzsprout"

Publish to "Spreaker"
Publish to "Podcast Co"

Publish to "IONO.FM "

Open a Hindenburg Session

Eliminate microphone bleed and more

Learn how to do remote interviews with guests, from Skype, Zoom or other
Learn how to do remote interviews with guests, from Skype, Zoom or other
Watch video [04:06]
Learn how to do remote interviews with guests, from Skype, Zoom or other
Learn how to do remote interviews with guests, from Skype, Zoom or other
Watch video [02:02]

Field Recorder

Hindenburg PRO

Narrator